How to get the perfect plaits for your horse
Plaiting a horse’s mane is a lot easier said than done. But as the saying goes, practice makes perfect.
The concept of plaiting is simple, section the mane, plait the sections and roll the plait. However, executing such tasks, especially when your horses mane resembles somewhat of an afro, requires patience and a steady hand.
There are lots of tips and tricks of the trade to make plaiting easier. This step by step guide might help you accomplish the “perfect plaits”.
Step 1
Preparation is key
Firstly it’s important to make sure you have the tools to do the job. A comb, plaiting bands, sponge & water, plaiting wax, a needle and thread and hairspray are usually the go to products. Depending how you’d like your plaits to look you might prefer to sow them in, however this does take up more time and requires a lot more patience. Bands, particularly the silicon ones, are quicker and easier.
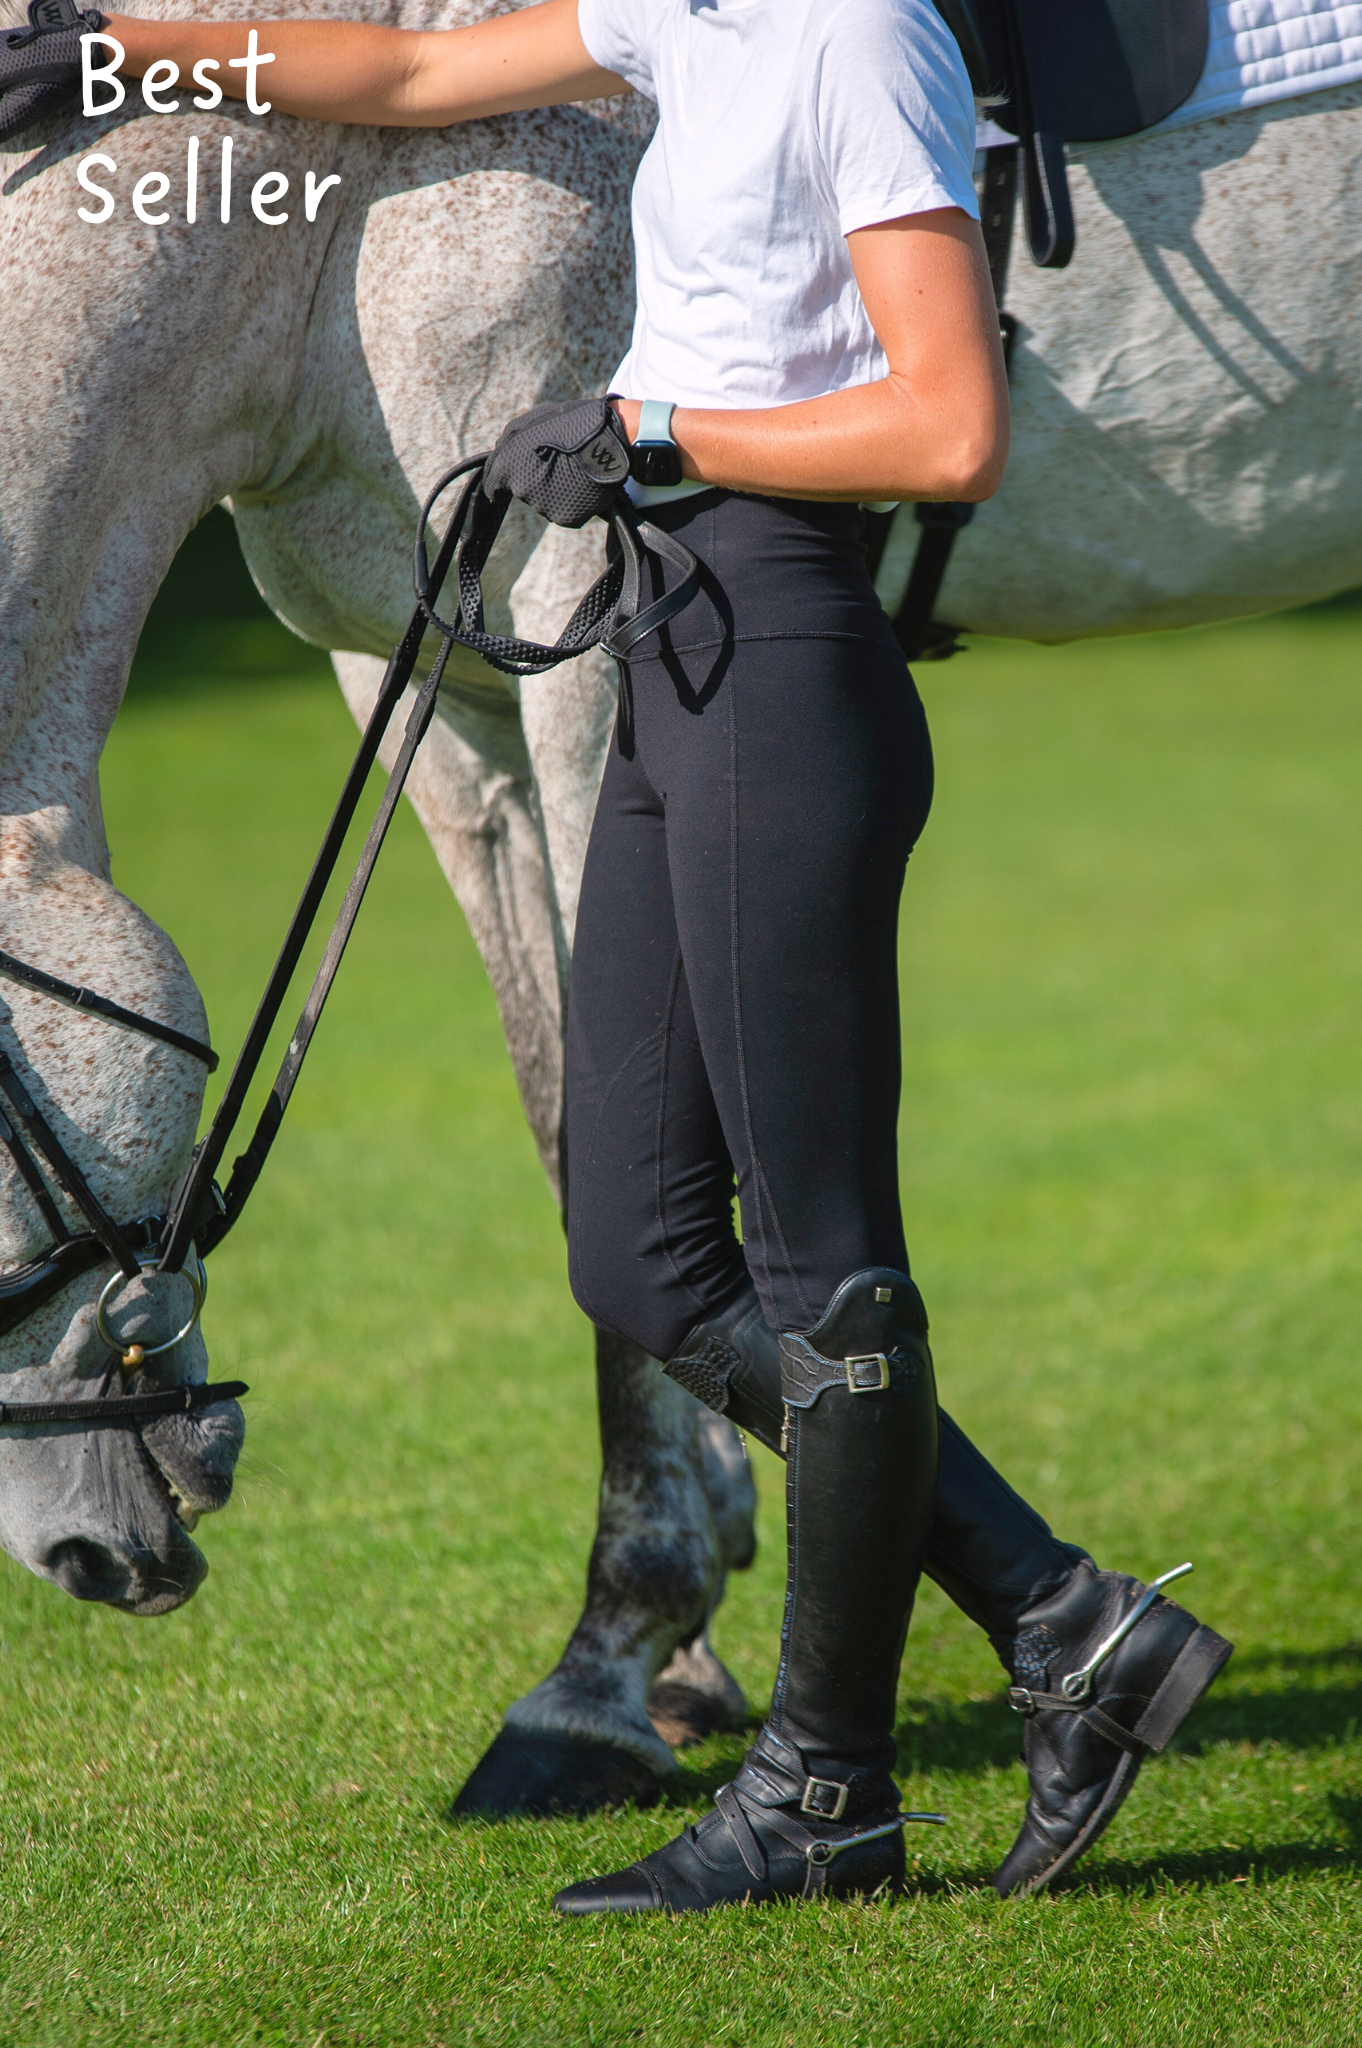
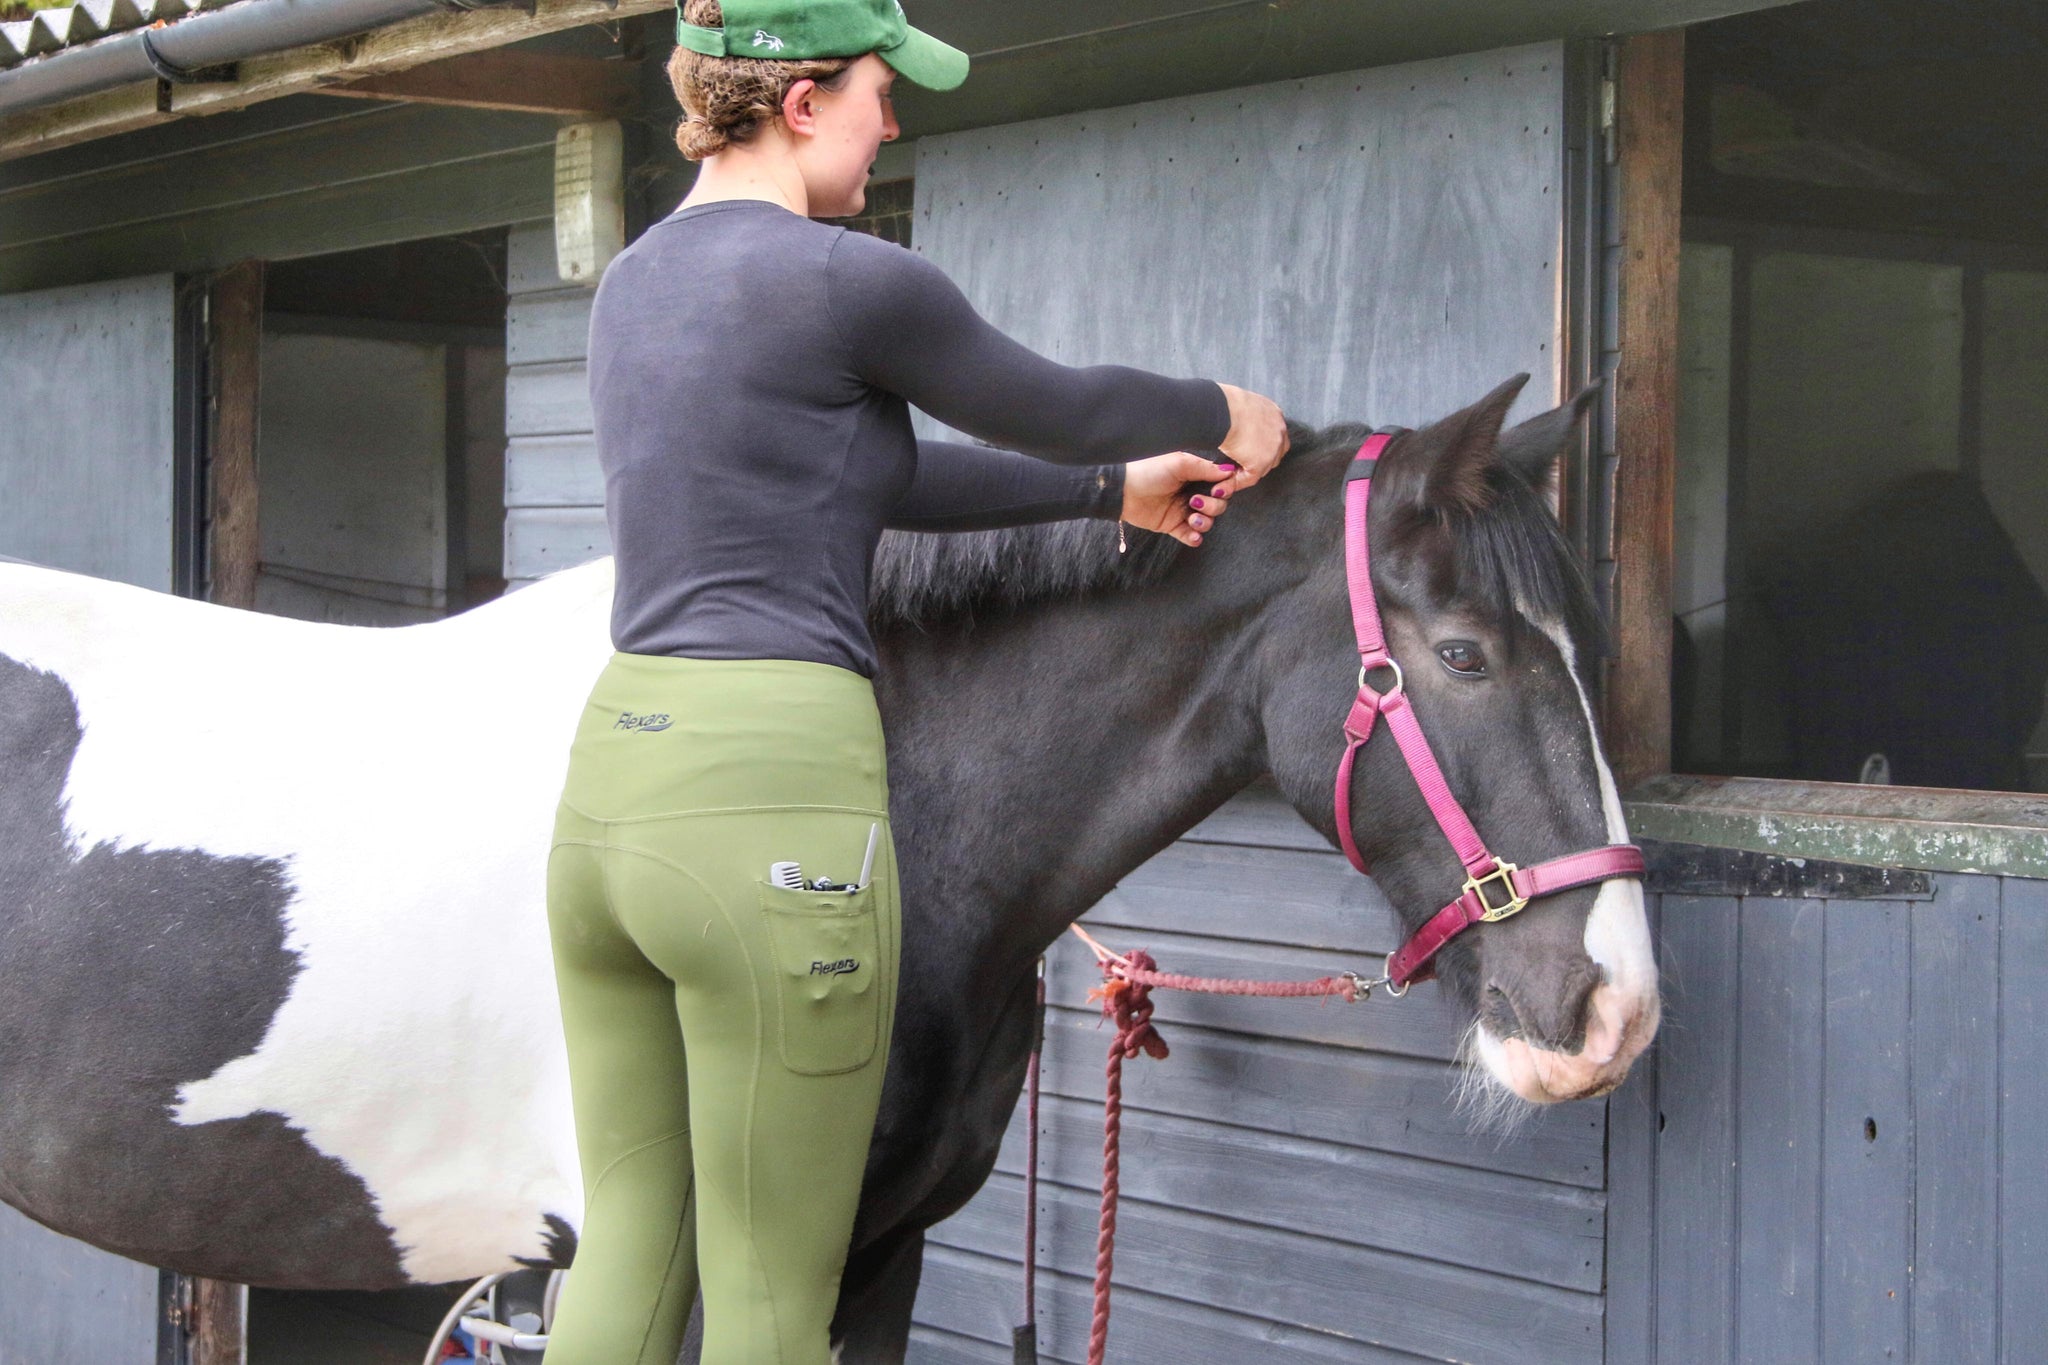
Secondly, ensure you have everything prepared and ready to go, you don’t want to get half way through plaiting and then have to find more bands or the comb. Grooming belts are quite useful for this, but if you don’t have one of those a pocket will also do the job. Another benefit to wearing a pair of Flexars, is that their mobile phone pocket is also the perfect size to hold a comb and a handful of plaiting bands for easy access.
Step 2
It’s all an illusion
Once you’re ready to go you need to give the mane a good brush through and then section into an odd number, with the forelock making your total number of plaits even. For example, 9 plaits along the mane and the forelock makes 10. Make sure all your sections are even in size, it’s not a good look having plaits of multiple size and shape.
The conformation of your horse will play a key role in determining the amount of plaits you do and where you set them on the mane. A horse lacking in top line and muscle on the neck would benefit from larger plaits set on top of the neck, creating the illusion of a muscular neck. A heavier weighted horse suits well set apart plaits, and a finer lighter horse suits smaller and closer together plaits.

Step 3.
Fingers and thumbs
Now your mane is evenly sectioned you’re ready to plait. Some people find it easier to dampen the mane or apply plaiting wax to each section to ensure the plaits are nice and tight. If you have a fidgety horse that doesn’t like to stand still for very long, it may help by starting at the top of the mane by the ears and work your way down. This way you get the trickier plaits done first before your horse loses all concentration.
To plait the mane, section one of your larger sections into 3 then cross the right section over the middle then the left section over the middle. Keep repeating this process all the way down then secure at the end with your band. It can be quite fiddly, so make sure you keep the plait taut, however if you want the plait to have more substance at the base of the neck leave the first crossover looser.
Step 4.
They see me rolling
Once you have all your sections plaited it’s now time to roll. Start at the end of the plait and roll it underneath itself, all the way up to the base of the neck. The plait should now look like a ball. Secure the rolled plait with another band, making sure it’s tight enough that the plait doesn’t unroll. Do this to all your plaits, not forgetting the forelock, then you will have your perfectly plaited mane. Don’t worry if you have a few stray hairs, hairspray, gel or plaiting wax can sort that out.

- Good luck!
Jade. (https://www.instagram.com/jade_payne93/)